
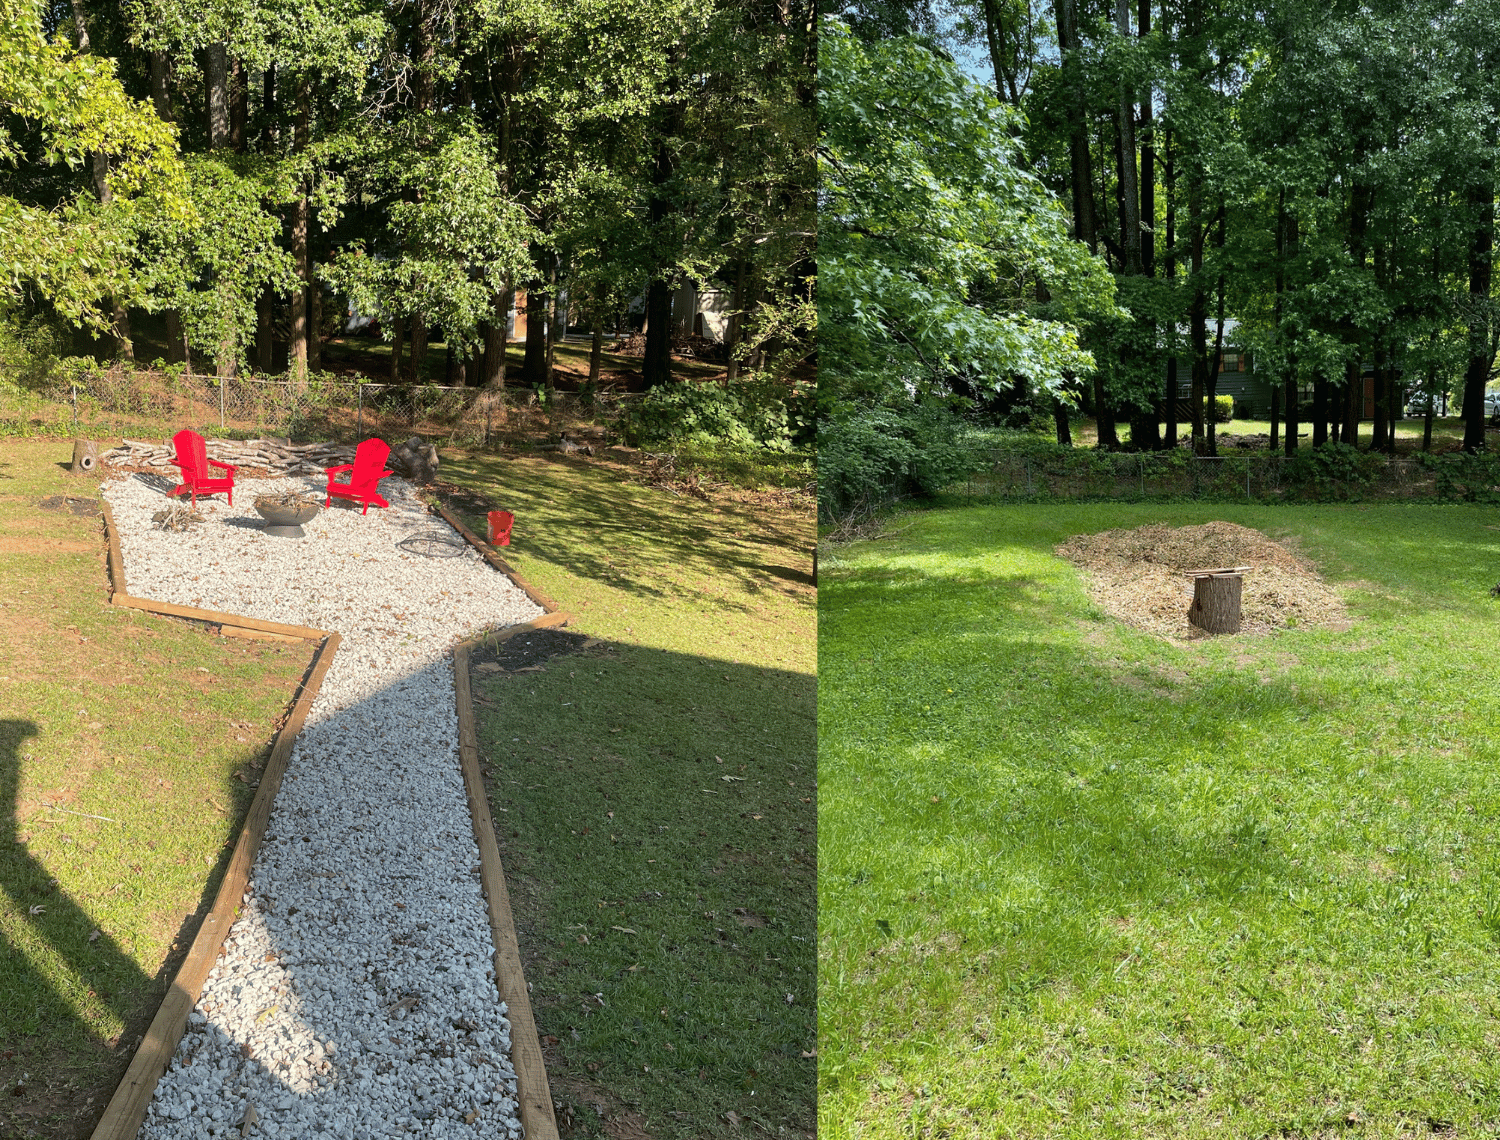
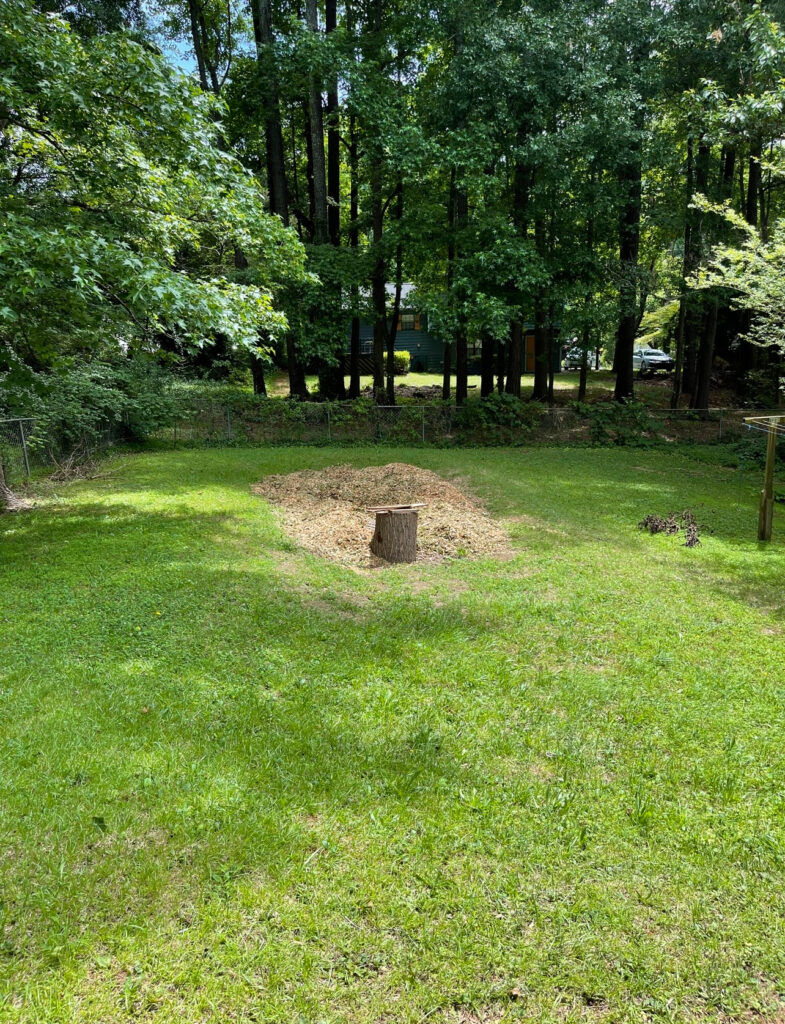
When I moved into my home there was a large area that had a sunken hole smack dab in the middle of the yard. There was a lot of speculation about what it could have been — maybe an old, improperly filled well, or possibly the remains of a large tree that had been removed. After consulting a few professionals for their recommendations, I decided to tackle the problem myself and create a DIY backyard firepit.
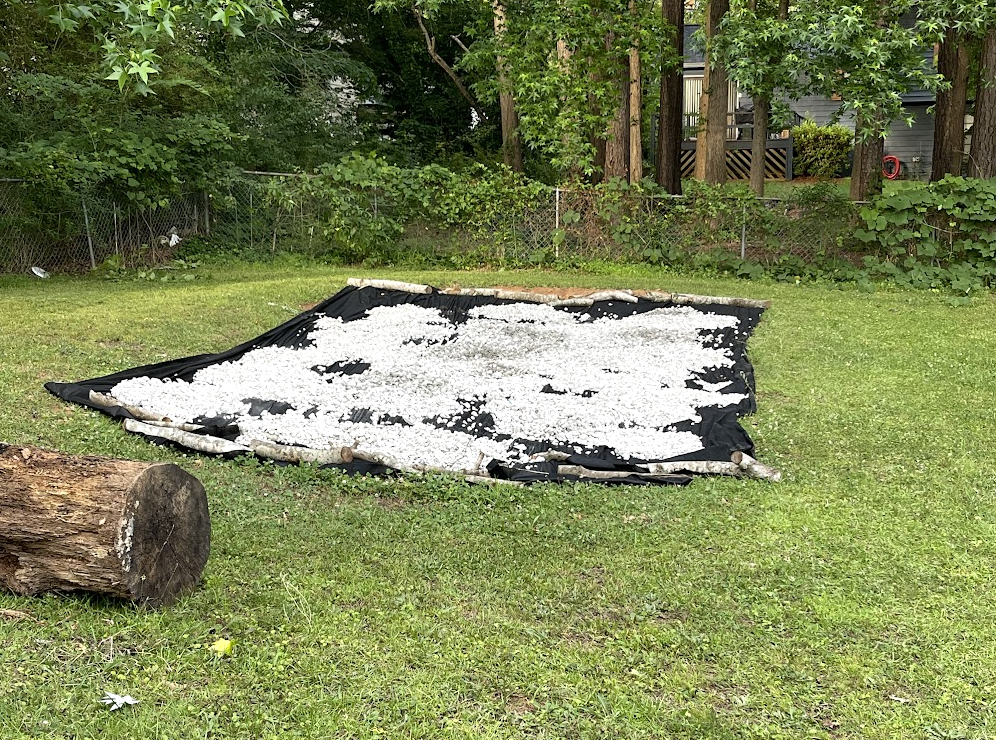
My first attempt was to fill the hole with wood chips (as shown below). It worked for a while, but after about a year, the wood chips started to disintegrate and sink. It became clear that wood chips alone weren’t a long-term solution.
I decided to hop onto Facebook Marketplace and found someone to buy red Georgia Clay and gravel from. Below is a list of all the supplies I used.
Supply List for Fire Pit Area:
- Fill Dirt (Georgia Clay) – $300
- Gravel – $300
- Weed Fabric – $60
- Shovel
- Steel rake (to level out the dirt and rocks)
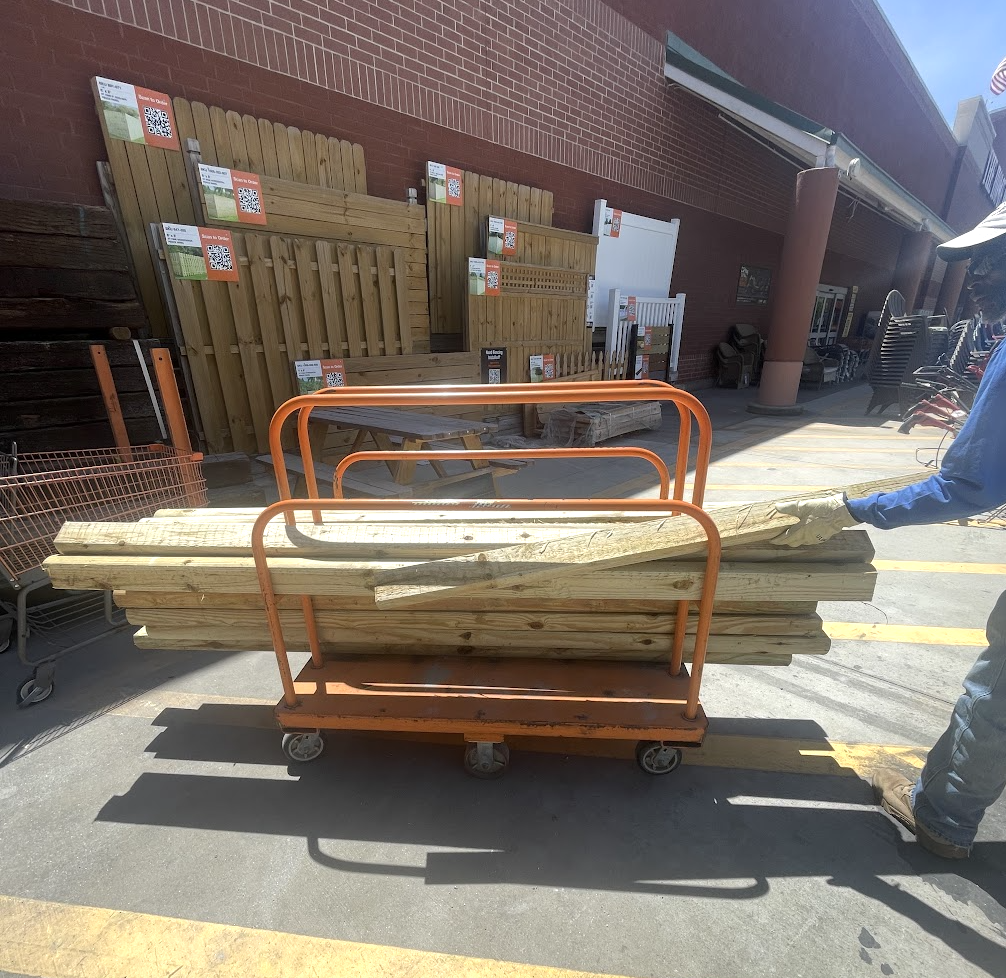
- Unfinished Landscape Timber – $45
- Wheel Barrel to transfer dirt and gravel – $100
- Adirondack chairs – $50/per chair
- Extra large nails provided from my Dad
- Chopped wood from a tree I had cut down
- Steel Tamper
Now that you have the list, let’s get into how I brought this together.
The Real Work Begins

The Real Work Begins
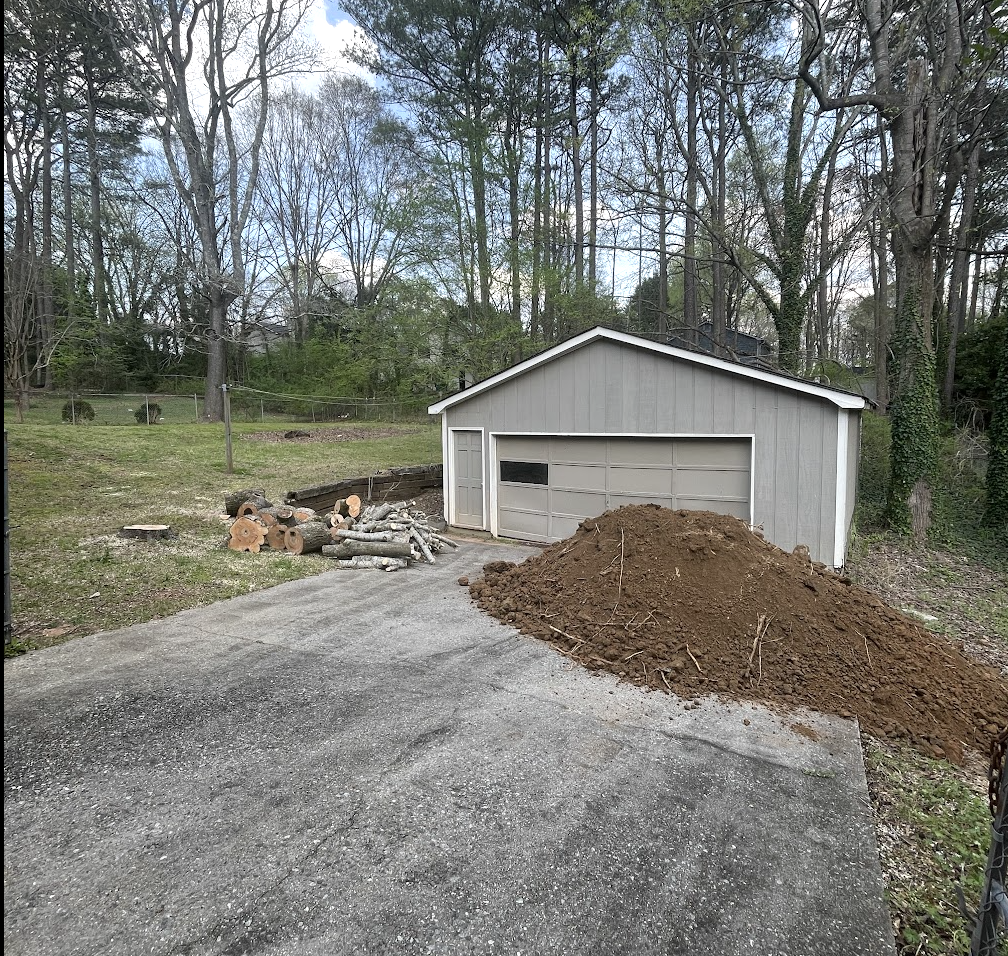
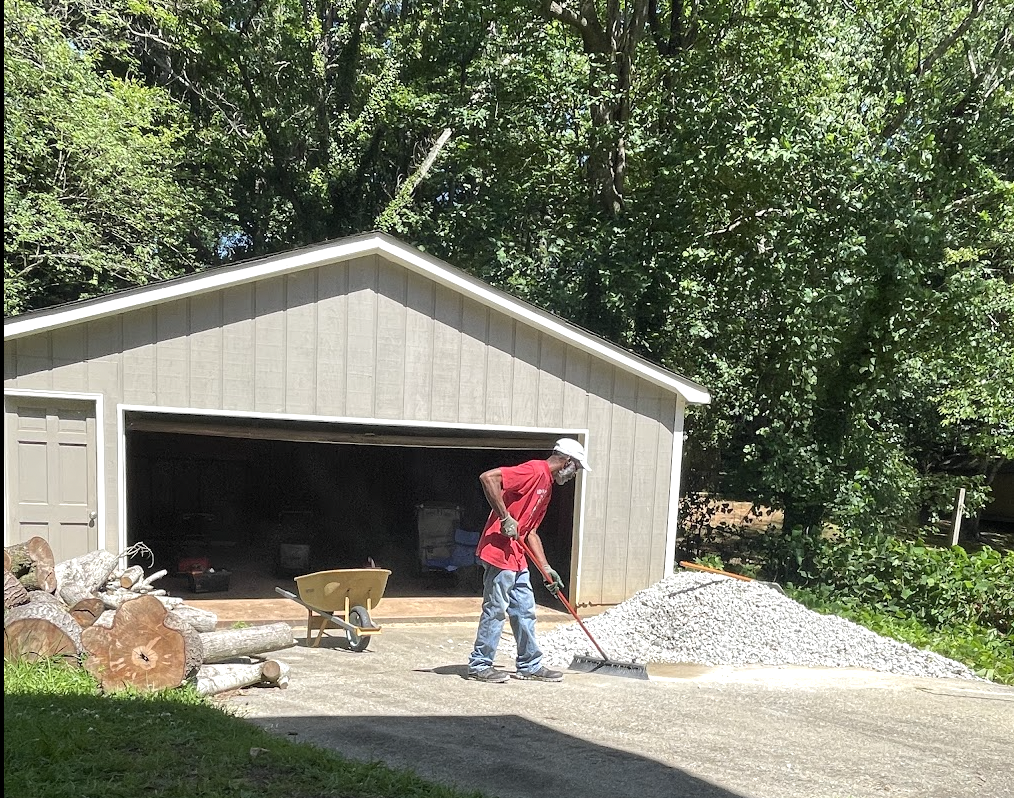
Next, it was time to lay down dirt. Moving that heavy Georgia clay was by far the hardest part of the project. I started by raking the dirt into a wheelbarrow and dumping it into the sunken area. Thankfully, a friend came to help, but even with the extra hands, progress was slow. Eventually, I hired additional help (for a few hundred bucks) to get the job done in a reasonable amount of time.
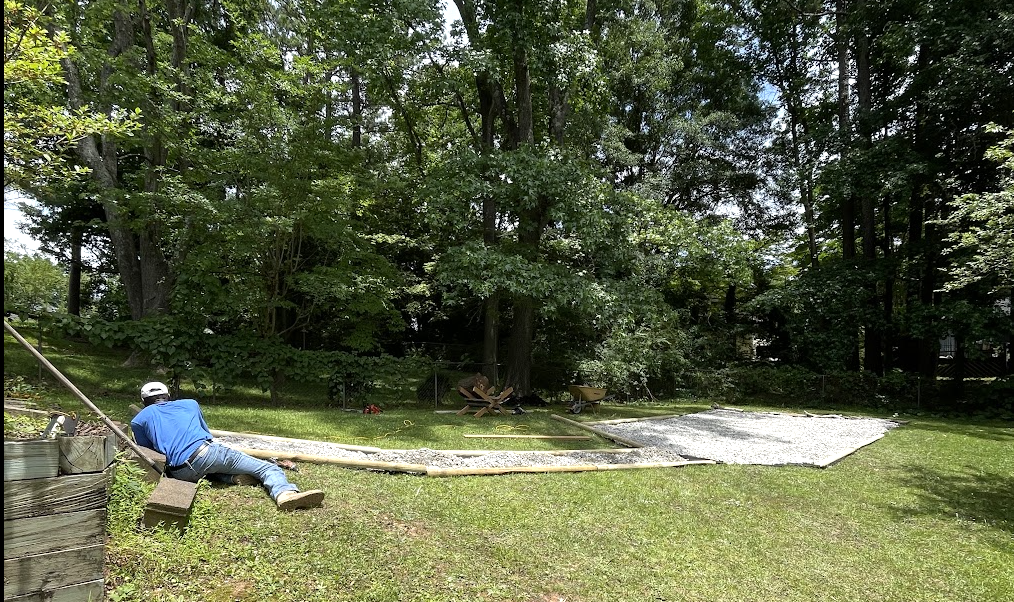
Once all the dirt was in, I grabbed a steel rake and worked on leveling it out as much as possible.
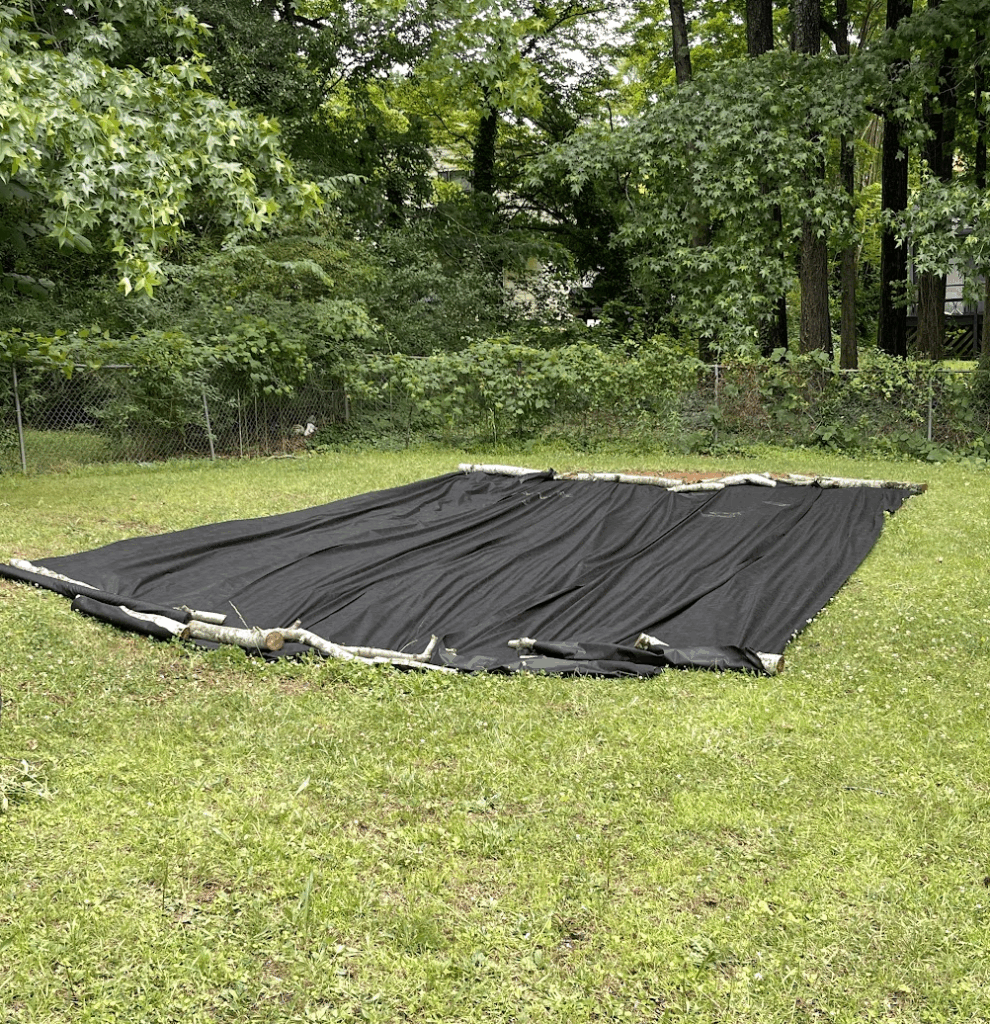
After smoothing the ground, I laid down landscaping cloth to help with weed control. Then I started covering the cloth with rocks. Halfway through, I realized I needed backup (because, honey, Auntie can only do so much!). I called in my dad to help finish laying the stones.
To define the space, we installed wood barriers around the firepit area. We secured the wood by hammering extra-long nails through it into the ground. While it’s not strictly necessary, I believe those nails have helped the wood stay in place long-term.
This is a side… but I had a tree cut down in an attempt to create a clear path for a truck to dump the dirt and the rocks into the hole to avoid from having to do as much manual labor. There wasn’t enough room for the trucks to do this even with cutting the tree down. Hence this blog post about me wheel barrowing through every step.
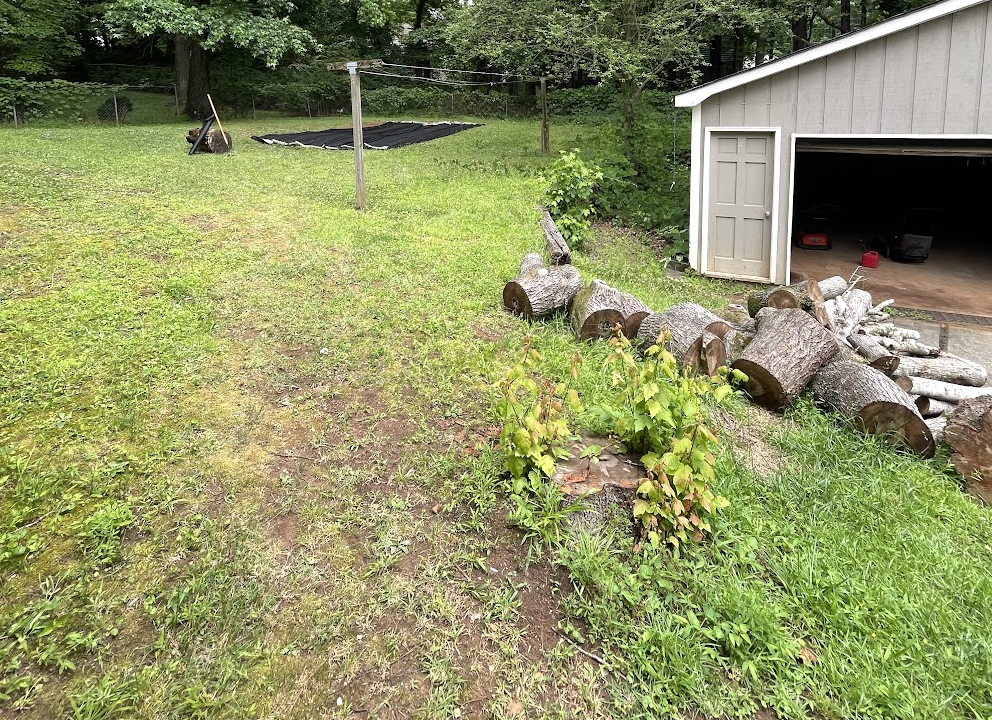
I also used some leftover chopped tree wood to close off the back of the firepit area. I stacked the wood crisscross to create a “fence” look. Even though I didn’t have enough wood to enclose the entire space, it turned out better than I imagined!
More Progress Pictures of the DIY Backyard Firepit:


Final thoughts…….
I absolutely love my firepit area. I’ve already used it several times and plan to continue adding flowers and small bushes around it to create a cozy, garden feel.
Planting shrubs and flowers is definitely experimental for me. I’m still figuring out what can survive with minimal effort (until I either learn more or can hire someone to maintain it). Either way, it’s been a labor of love, and I’m proud of how far it’s come.
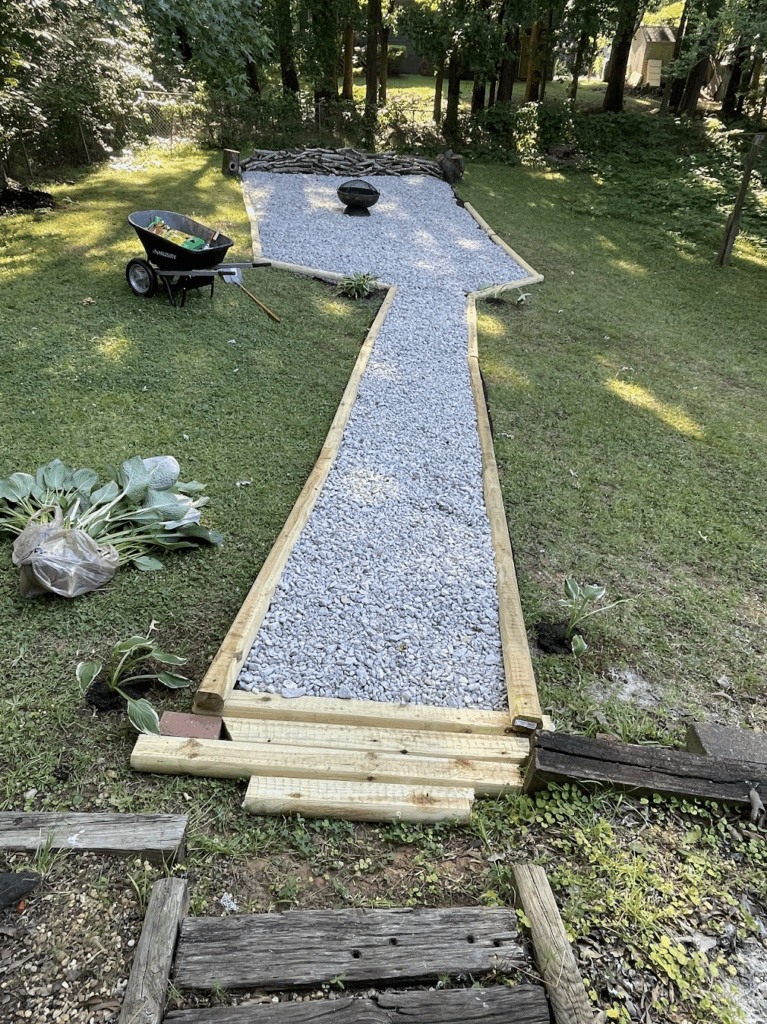
Above is a few weeks after completing the firepit area and I am attempting to grow Hostas around the gravel area.
Until I have more updates, check out my next blog about Posh Aunite’s adventure in Colorado.